+1 608-594-7071
roof ventilation installation completed by a local contractor at a brick-and-siding two-story home in Madison, WI, after a rain shower.

Roof Ventilation Installation in Madison, WI

A roof breathes or it rots. We install roof vents on residential and commercial roofs across Madison so heat and moisture leave the attic instead of sitting under the deck. Warm air rises, collects at the ridge, and needs a way out. Intake at the eaves and exhaust at the top move it, and the balance between the two is where most roofing systems fall short. Get it right and the shingles run cooler, the insulation stays dry, and the framing under the roof lasts. Get it wrong and the roof looks fine from the driveway while the plywood underneath softens, one damp season at a time.

The median home in Madison was built in 1979, and a roof from that era is often vented however the original builder happened to do it: a pair of gable vents, maybe an undersized can or two, and soffits that got sealed shut during a siding job long ago. We see what that does when we open a roof for repair. Rusted nail tips, black staining on the underside of the sheathing, insulation packed flat with damp, and shingles that curled before their time. Roof vent installation fixes the cause instead of the symptom. We match ridge, box, or powered vents to the attic, cut intake to balance them, and flash every penetration so the fix never becomes a leak. Call for a free estimate.

Call +1 608-594-7071

Licensed, Bonded, and Insured ยท A combined 15 years of experience

Request an Estimate

We warranty all of our work because we believe in what we do.

What Roof Ventilation Installation Involves

Image slot Roof Repair Near Me 680px · 16:9 · no image declared for this subject

Roof Repair Near Me

Most repair calls start with a stain on a ceiling. We trace the water back to its source, which is rarely where it shows up: a cracked pipe boot, lifted shingles at a valley, rusted step flashing along a chimney or wall. We replace the failed piece with matching materials, seal the fasteners, and check the ridge and soffit vents while we are up there, since poor airflow shortens the life of everything around it.
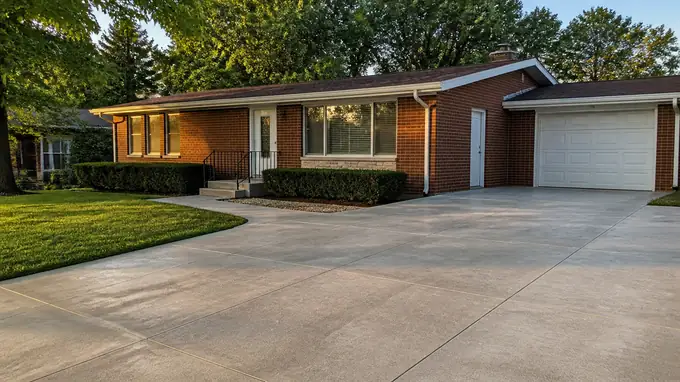
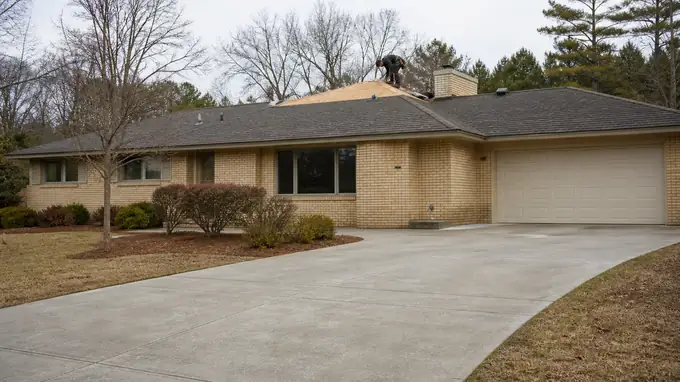
roof inspection completed by a local contractor at a red-brick ranch home in Madison, WI, in late afternoon light.

Roof Inspection

An inspection covers the full system, not just the shingles. We walk the surface for granule loss, cupping and nail pops, then go into the attic to look at the underside: dark sheathing, damp insulation, daylight at the eaves, blocked baffles. Roof vent installation often comes out of this step. A house built around 1979 was rarely vented to today's standards, and the attic tells us what it needs before the deck does.

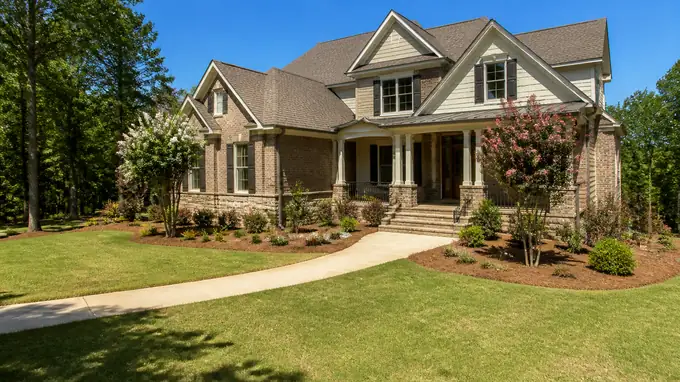
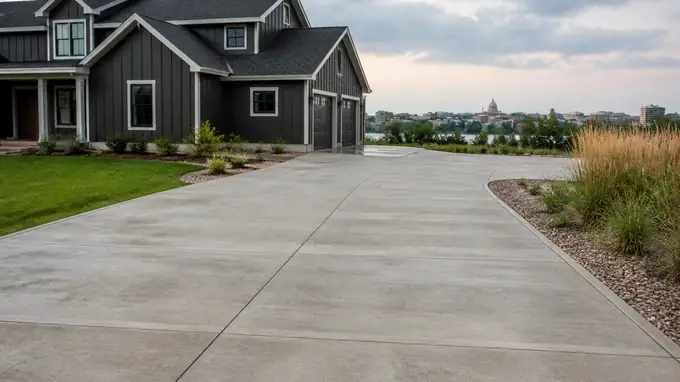
roof replacement completed by a local contractor at a charcoal farmhouse-modern home in Madison, WI, after a rain shower.

Roof Replacement

Replacement means tearing off to bare sheathing and rebuilding every layer. We swap rotted decking, run ice and water shield at the eaves and valleys, lay synthetic underlayment, and install new drip edge and flashing rather than reusing old metal. Ventilation gets sized to the attic, with a continuous ridge vent balanced by open soffits. Architectural shingles or standing seam metal, depending on the roof and what the homeowner wants from it.

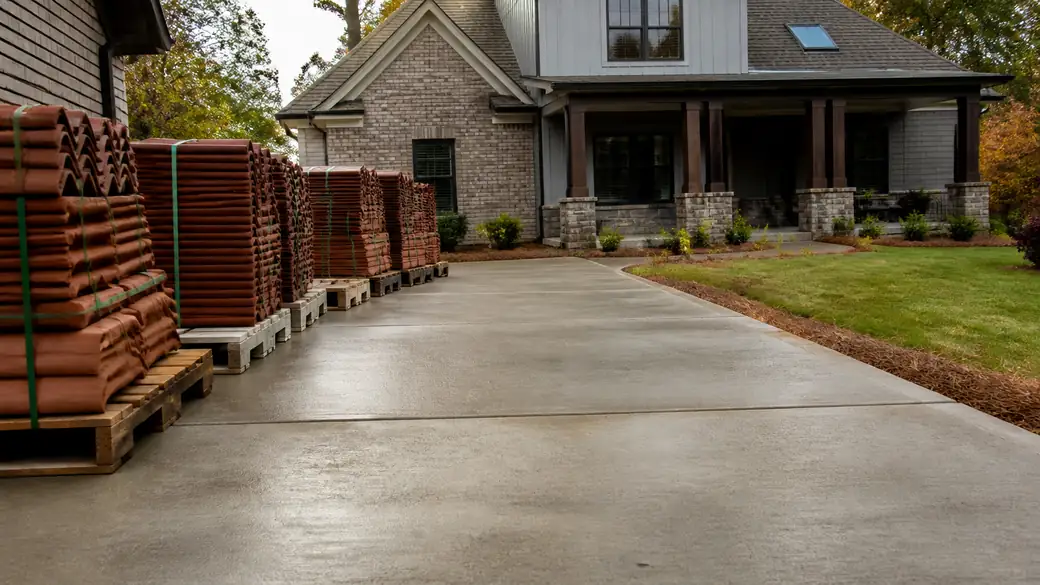
roof installation completed by a local contractor at a buff-brick ranch home in Madison, WI, under bright midday cloud.

Install Roofing

New installations on additions, garages and commercial buildings follow the same rules as a full replacement, on a clean deck. Low-slope sections get a membrane system with properly terminated edges, because shingles will not hold water back at a shallow pitch. On steeper residential roofs we set starter courses, stagger the field, and fasten to the manufacturer's nailing line. Intake and exhaust vents go in during the install, not after, on every job from Madison to Middleton.

What Decides the Price of Roof Ventilation Installation

Two roofs the same size can come in at different numbers, and the difference is almost always in what we find once we are up there. The median home in Madison was built in 1979, so the vents on the roof are often the originals. Here is what moves the price of a roof vent installation, and every one of these you can check yourself.

What changes the priceWhich wayWhy
Vents already on the roofcosts moreOld turbines, box vents and gable louvers have to come out and the holes decked over before the new system goes in. Count them from the street.
How we reach the roofcosts moreA steep pitch, a second story, or no place to set a ladder or park the truck near the work slows the crew down. A walkable single story off a driveway is the easy end.
Soffit intake at the eavescosts moreRidge vents only work with air coming in low. Solid soffits, or attic insulation packed into the eaves without baffles, mean work below before we cut anything above.
Roof materialcosts more on metal and flatAsphalt shingles take a ridge vent quickly. Metal panels and flat membranes need purpose-made flashing and a slower, more careful cut.
Decking around the openingscosts more if softWater that got in around old flashing rots the sheathing. Any soft plywood near a vent is replaced before the new one is fastened.
Ridge length and hipscosts less on a simple gableOne long straight ridge takes a single continuous vent. A hipped or cut-up roof needs more individual vents and more flashing.
Powered fanscosts moreA powered attic fan needs a wire run to the attic. Static vents need none.

Compare bids on the same count of vents going in and coming out, whether soffit intake and baffles are included, and what each bid says about replacing rotten decking. A low number that leaves those out is not a low number.

What Customers Say About Our Roofing Services

Most homeowners who call us about roof vent installation start with a symptom, not a vent. A bedroom that runs hot right under the ceiling. Frost on the underside of the sheathing. Shingles curling early on a roof that should have years left in it. We treat the question the same way every time: look at the attic, count the intake and exhaust, and tell you plainly whether ventilation is the problem or something else is.

Nobody is quoted on this page, and we will not invent a customer to fill it. What we can tell you is how we work. Permits go through the City of Madison when the job needs one, and we pull them ourselves. With a median build year of 1979 in this market, we go in expecting original vents, tired flashing and attics nobody has looked at in years, whether the house sits in Madison or out in Middleton. Call for a free estimate.

How a Roof Ventilation Installation Job Runs in Madison

An inspector walks a shingle roof checking for cracked and missing shingles. at a brick-and-siding two-story home in Madison, WI.

Step 1: Roof Inspection

Every job starts on the roof and in the attic. We walk the field, count existing vents, and check the soffit for blocked or painted-over intake. Inside, we look for frost-stained sheathing, rusted nail tips, compressed insulation, and bath fans dumping into the attic instead of outside. Madison's median home was built in 1979, and roofs from that era often carry too little intake for the exhaust on top. That imbalance is what we measure first.

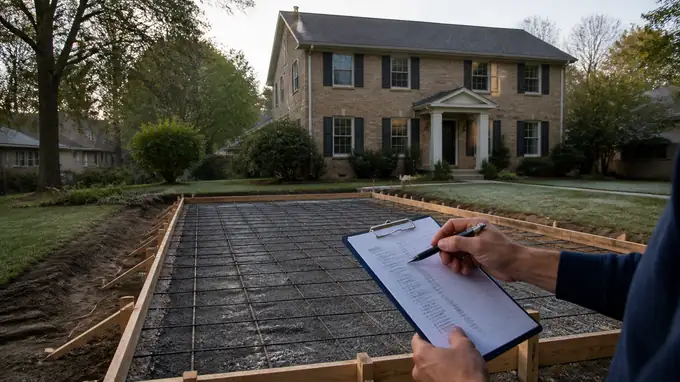
A contractor reviews a written roof replacement quote with a homeowner on the front porch. at a tan-brick colonial in Madison, WI, in early morning light.

Step 2: Written Estimate

The estimate lists exactly what we found and what we plan to do about it: net free area needed, vent type (ridge, box, or turbine), soffit intake to add, baffles, and any deck or flashing repair. Materials are named by brand and gauge, not "vents as needed." Call for a free estimate. You read it, ask questions, and decide. Nothing on the roof moves until the scope on paper matches the scope you want.

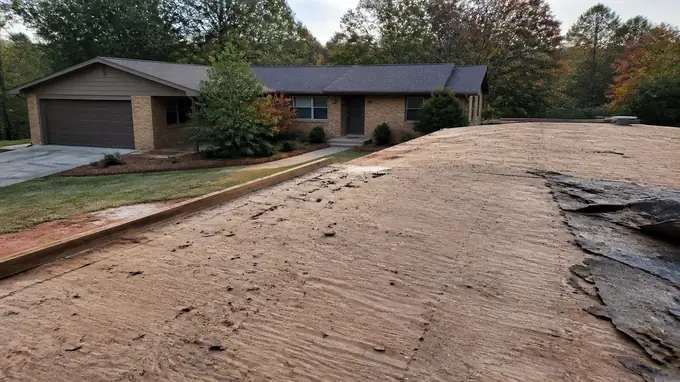
The stripped roof deck sits exposed after old shingles and felt are removed. at a buff-brick ranch home in Madison, WI, in early morning light.

Step 3: Removal of Old Materials

Old static vents, worn ridge cap, and failed boot flashing come off first. We cut back shingles around each vent location, pull the fasteners, and clear sealant and debris from the deck. Any bath or kitchen duct ending in the attic is disconnected so it can be routed to a proper exterior hood. Removed material goes straight into the trailer. The point is a clean, bare opening for each vent, not a patch on top of a patch.

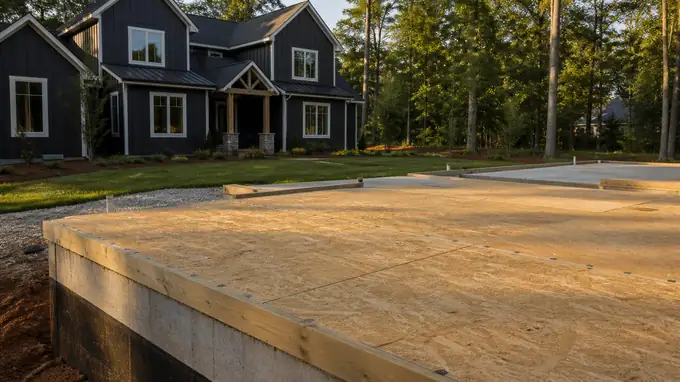
A roofer fastens new OSB decking sheets with a staggered nailing pattern. at a charcoal farmhouse-modern home in Madison, WI, in late afternoon light.

Step 4: Deck Repair

Vent openings often sit over the worst sheathing on the roof, because that is where trapped water has been condensing. We probe the deck around every cutout. Soft, delaminated, or dark-stained plywood gets cut back to solid wood and replaced with matching-thickness sheathing, usually 1/2" or 5/8" CDX, fastened to the rafters. Ridge cuts get checked for a straight, consistent slot. New vents on a rotten deck fail early, so this step is not skipped.

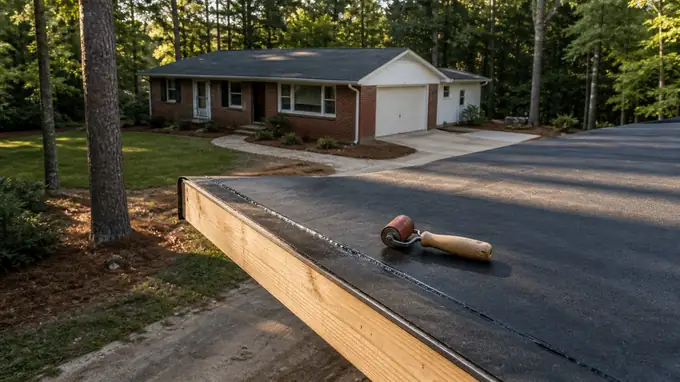
A roofer seals overlapping underlayment seams along the eave edge. at a red-brick ranch home in Madison, WI, in late afternoon light.

Step 5: Underlayment Installation

Around each vent and along the ridge we lay new underlayment tight to the deck. Ice and water shield goes down at every cutout so the opening has a sealed membrane under the flashing, and synthetic underlayment ties into the existing field where shingles were lifted. Overlaps run with the water, never against it. This layer is the second line of protection when wind drives rain sideways into a vent, and it is the layer nobody sees.

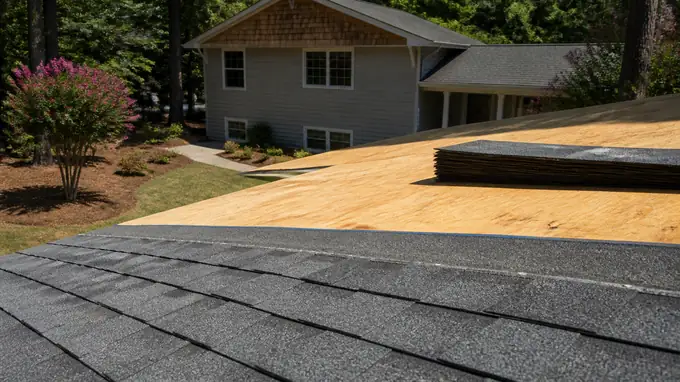
A roofer nails asphalt shingles into place course by course. at a grey split-level home in Madison, WI, in clear late-morning sun.

Step 6: Roofing Installation

Ridge vent goes on in full lengths, nailed through the shingle line into the deck with the manufacturer's ring-shank fasteners, then capped. Box vents get set in a bed of sealant with flashing worked under the upslope shingles and over the downslope course. Soffit intake gets cut and screened, and baffles hold a clear channel from soffit to attic. Shingles are woven back with matching color and exposure so the roof vent installation reads as part of the roof.

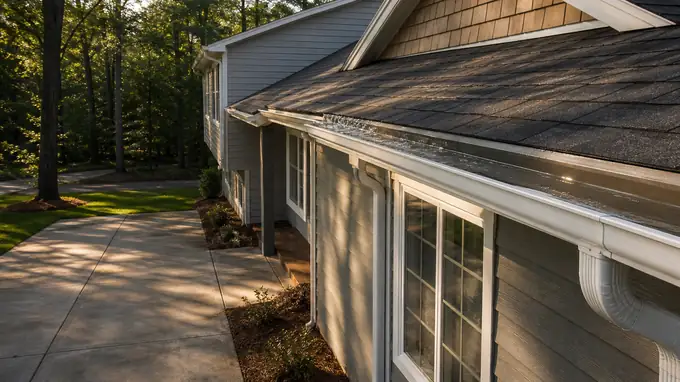
A roofer checks water flow through a newly reattached gutter after installation. at a grey split-level home in Madison, WI, in late afternoon light.

Step 7: Final Inspection

Once installed, we go back into the attic in daylight and look up. Light through every vent and baffle means the airflow path is open. Outside, we check every fastener head is sealed, flashing laps are shingle-style, cap shingles are flat, and the ridge line runs straight. We walk the finished work with you and point out what changed and why. Anything that does not meet the estimate gets fixed before the trailer leaves.

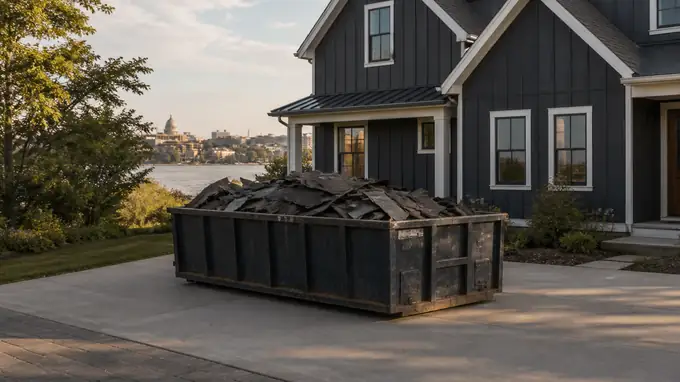
Workers load the last bundles of old shingle debris into a driveway dumpster. at a charcoal farmhouse-modern home in Madison, WI, in late afternoon light.

Step 8: Cleanup

Magnets sweep the lawn, driveway, and beds for nails. Gutters get cleared of shingle grit and cut-off debris. Cut plywood, packaging, and old vents leave with us. Inside, we close up the attic access and check that no insulation was dragged onto the floor below. Your property should look the way it did the morning we arrived, with the only difference being a roof that finally breathes.

Get a Free Estimate

Request an Estimate

We warranty all of our work because we believe in what we do.

Tap to call +1 608-594-7071