+1 608-594-7071
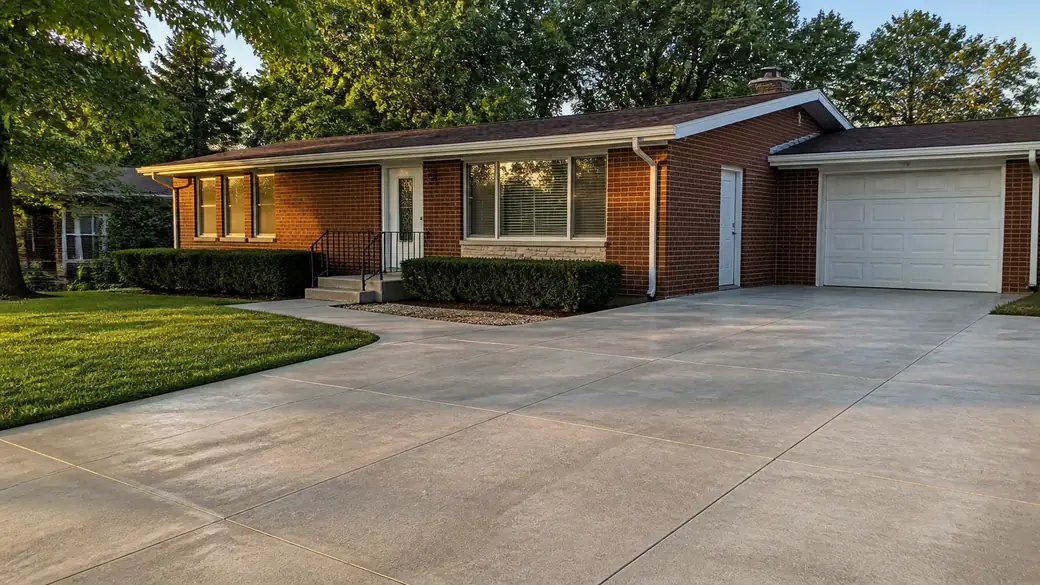
roof inspection completed by a local contractor at a red-brick ranch home in Madison, WI, in late afternoon light.

Roof Inspection in Windsor, Wisconsin

A roof inspection tells you what shape your roof is in before a small problem turns into water on the ceiling. That matters here, because the area sees about 36 inches of snow and 32 inches of rain in a typical year, and all of it has to leave the roof. We look at the shingles or metal, the flashing around chimneys and vents, the valleys, and the attic underneath.

The work itself is straightforward. We walk the roof where it is safe to walk, check it from a ladder where it is not, and photograph anything worth your attention. You get a plain account of what is sound, what needs repair, and what can wait. Sometimes the answer is that nothing needs doing yet, and we say so. That is worth knowing too. Call to book one.

Call +1 608-594-7071

Request an Estimate

What We Do in Windsor

Image slot Roof Repair Near Me 680px · 16:9 · no image declared for this subject

Roof Repair Near Me

Most leaks we find in Windsor start at a joint, not in the open field of shingles. Rubber pipe boots crack and let water run down the vent stack. Step flashing along a sidewall slips behind loose siding. Wind lifts a tab, breaks the seal strip, and the nail underneath starts to rust. Caulk over any of these is not a repair. We trace the stain back to where water actually enters and fix that spot properly.
Roof Inspection

We start in the attic, because that is where a roof tells the truth. Daylight around a pipe, dark rings on the sheathing, rusted nail tips and damp insulation all point somewhere. Up top we check flashing at chimneys and walls, the condition of every pipe boot, granules collecting in the gutters, and soft spots in the decking underfoot. You get photos of what we saw and a plain account of what needs attention now and what can wait.

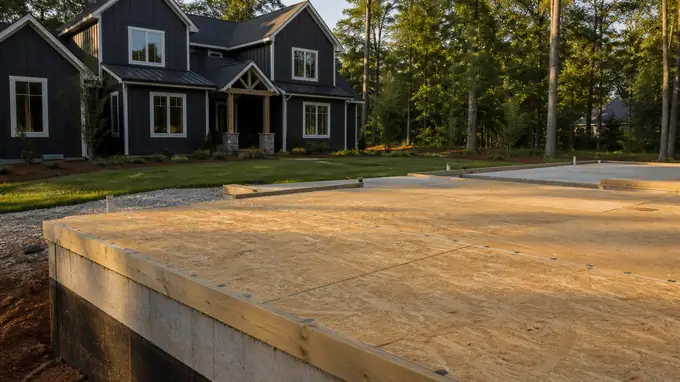
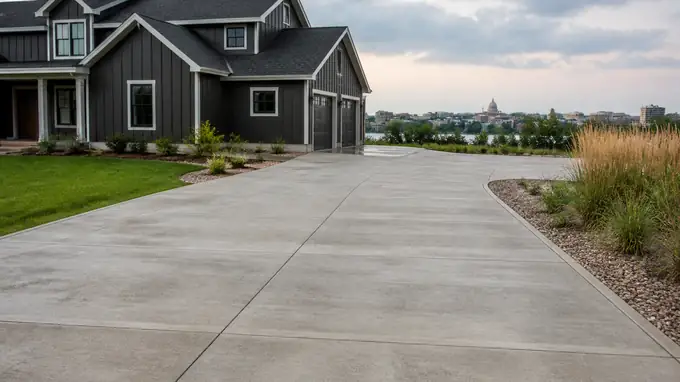
roof replacement completed by a local contractor at a charcoal farmhouse-modern home in Madison, WI, after a rain shower.

Roof Replacement

A replacement done right goes down to bare deck. We strip every layer, pull the nails, and walk the sheathing to find soft or delaminated boards; those get cut out and replaced before anything new goes on. Ice-and-water shield runs along the eaves and up every valley, synthetic underlayment covers the rest, and new drip edge finishes the edges. Old flashing comes off with the shingles and is replaced, not reused. We handle the permit.

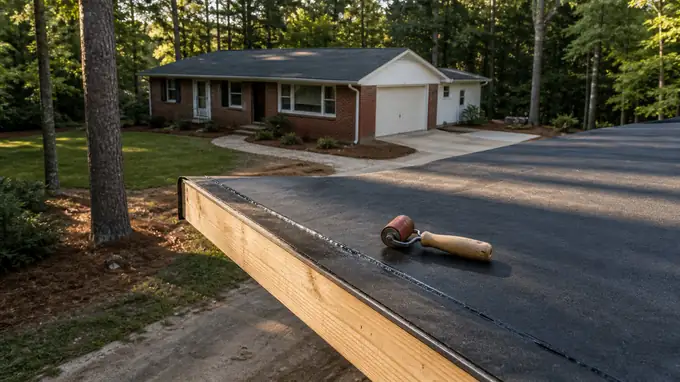
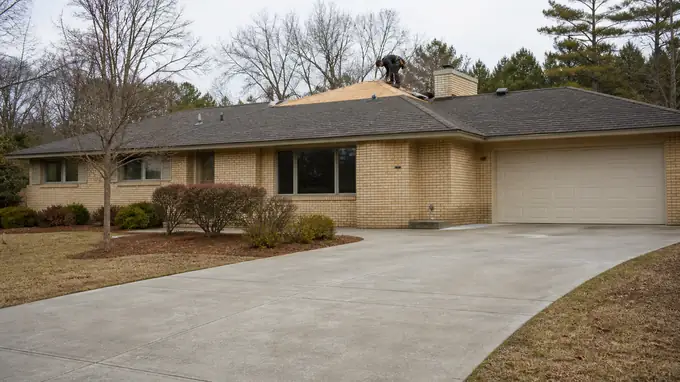
roof installation completed by a local contractor at a buff-brick ranch home in Madison, WI, under bright midday cloud.

Install Roofing

New roofs on additions, garages and new homes are only as good as the framing under them. We check that rafters are straight and sheathing is properly fastened before any underlayment goes down. Low-slope sections are a different job. On a porch roof or a commercial building with a flat deck, shingles are the wrong material, so we install fully adhered EPDM or heat-welded TPO membrane, with seams and edge metal detailed so standing water has no way in.

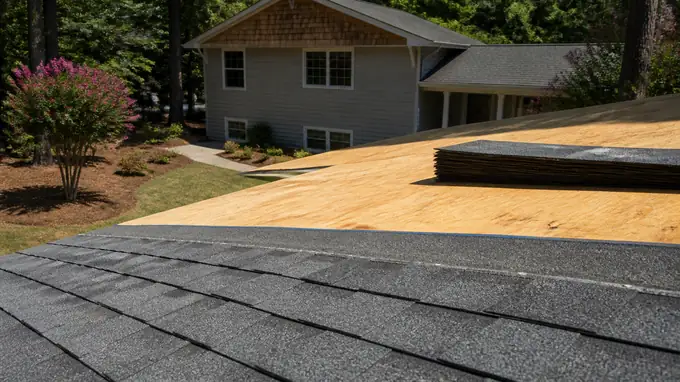
metal roof installation completed by a local contractor at a grey split-level home in Madison, WI, in clear late-morning sun.

Metal Roof Installation

Standing seam is our usual recommendation: concealed clips let the steel expand and contract without working fasteners loose. Exposed-fastener panels are simpler, but they depend on rubber washers that dry out and crack over time, and we are straight with people about that tradeoff. We use factory-painted steel with a PVDF finish over high-temperature underlayment. With about 36 inches of snow a year, we also add snow guards above doors and walkways, where a sliding sheet of snow does real damage.

Why Windsor Chooses Madison Precision Roofing

A roof inspection should end with a straight answer, not a sales pitch. We walk the whole roof, not just the corner above the stain on the ceiling. We check the flashing around chimneys, vents and skylights, look for lifted or cracked materials, and go into the attic to see whether water has been getting in where nobody would notice. It takes longer. It is also the only way to know.

This area gets about 36 inches of snow and 32 inches of rain a year, so we look hardest at the places water finds first: valleys, seams and the flashing at every penetration. Then we show you what we found, photo by photo, and tell you what it means. Some roofs need a repair. Some need a replacement. Plenty need nothing, and we say so plainly.

Choosing the Right Roofing System in Windsor

The right roofing system starts with the roof you already have. Pitch matters most: steeper residential roofs shed water well under asphalt shingles or standing seam metal, while low-slope porches, additions and commercial buildings need a flat membrane that stays sealed where water sits. Snow is the other test. The area sees about 36 inches of it a year and 32 inches of rain, so we look hard at how each material handles weight, melt and runoff at the eaves and valleys.

Before we recommend anything, we inspect. That means checking the decking for soft spots, looking at ventilation in the attic, and tracing every piece of flashing around chimneys, vents and walls. A new roof over a tired structure or a blocked attic won't perform, whatever the material. Then we lay out the options that suit your property, explain what each asks for in maintenance, and tell you plainly which one we'd choose. Call for a free estimate if you want a second look at what's up there.

What Decides the Price of Roofing in Windsor

Most of what moves a roofing number sits on your own house, and a good share of it you can see from the driveway or the attic. Two roofs with the same footprint in Windsor can land far apart once we count what has to come off, what the deck is hiding, and how hard it is to get materials up there. These are the things we look at before we write anything down.

What changes the priceWhich wayWhy
More than one layer of old shinglescosts moreEach extra layer means more tear-off, more weight in the dumpster and more hours. Look at the edge above the gutter and count.
Soft or stained roof deckingcosts moreRotted sheathing has to be cut out and replaced before anything new goes down. Check the attic boards for dark stains or pinholes of daylight.
A pitch too steep to walkcosts moreSteep roofs call for harnesses, roof jacks and slower, more careful work.
Room to park a dumpster beside the housecosts lessDebris drops straight in. Overhead wires, a narrow drive or a soft lawn mean carrying it out by hand.
Chimneys, skylights and walls meeting the roofcosts moreEach one needs new flashing cut and fitted, and those joints are where most leaks start.
Valleys, dormers and separate roof planescosts moreMore cuts, more waste and more detail work than one plain gable.
A flat or low-slope sectioncosts moreShingles will not shed water there, so that part needs a membrane system installed on its own terms.
Soffit and ridge vents already in placecosts lessAdding ventilation where there is none means cutting the deck and fitting new vents.

When you line up competing bids, make sure they price the same job. Check whether each one is a full tear-off or a layover, how it handles rotten decking found once the old roof is off, whether the flashing is new or reused, and which underlayment goes down. A number that skips those questions tends to grow once the work starts.

Windsor Questions

Can BUR systems support heavy equipment and foot traffic?

Yes. Built-up roofing is layers of felt and hot bitumen finished with gravel, and that thickness is what makes it tough underfoot. It handles regular maintenance traffic on a flat commercial roof far better than most single-ply membranes. Heavy equipment is a different question. The membrane can take the weight, but the structural deck underneath has to carry it, so we check that first and set rooftop units on pads or curbs, never straight on the gravel.

Do you provide free estimates?

Yes, and there is no charge for the inspection that goes with it. For a Windsor home or building, that means we get on the roof, look at the shingles, flashing, decking and gutters, and photograph anything that needs attention. The estimate lays out what we found and what we would do about it, in plain terms. If the roof only needs a repair, that is what we recommend. Call us to set one up.

Why is my chimney leaking during rain storms?

Most of the time the chimney itself is fine and the flashing around it has failed. Step flashing works loose, sealant dries out, or the counter-flashing pulls away from the mortar joints and lets water run behind it. Hard rain finds those gaps quickly. Less often it is a cracked crown on top, porous brick soaking up water, or a wide chimney with no cricket behind it to shed runoff. An inspection tells us which one it is before anyone starts sealing things.

What type of underlayment material do you recommend for Windsor's climate?

Two kinds, used in different places. This area sees about 36 inches of snow and 32 inches of rain a year, so we run a self-adhered ice and water membrane along the eaves, in the valleys and around every chimney, skylight and vent. It seals around nails and holds back water that backs up under the shingles. The rest of the deck gets a synthetic underlayment, which lies flat, resists tearing and outlasts the old felt paper.

Do you install flashing around chimneys and skylights?

Yes, on every roof we replace, and as a standalone repair when the shingles still have life left in them. Around chimneys we fit step flashing under each course of shingles, then cut counter-flashing into the mortar joints so it laps over the top. Skylights get the manufacturer's flashing kit where one exists, installed to their instructions. We do not rely on caulk to do a flashing job. Caulk is a patch, and patches fail.

Are there specific materials that are best for repairing storm-damaged roofs?

Yes, and the first one is whatever matches what is already on the house. After storm damage in Windsor, we try to source the same shingle line and color so a repair does not show. When that product is discontinued, we find the closest match and show you how close it is before it goes on. Where a larger section is being replaced, impact-resistant shingles are worth considering. Underneath, damaged decking gets new plywood, not a patch over soft wood.

What to Expect on a Windsor Roofing Job

An inspector walks a shingle roof checking for cracked and missing shingles. at a brick-and-siding two-story home in Madison, WI.

Step 1: Roof Inspection

A roof inspection starts in the attic, not on the shingles. From below we look for daylight at the nail lines, dark rings on the sheathing, damp insulation and rusted nail tips, since each one points to where water or warm air is getting through. Then we go up. We check flashing at chimneys, walls and vents, soft spots underfoot, granule loss, cracked pipe boots and how many layers are already on. You get photos of what we find.

A contractor reviews a written roof replacement quote with a homeowner on the front porch. at a tan-brick colonial in Madison, WI, in early morning light.

Step 2: Written Estimate

Everything we saw on the roof goes on paper before any work is agreed. The estimate names the shingle line and color, the underlayment, where ice and water membrane goes, which flashing and vents get replaced, and how we handle decking we cannot see until the old roof is off. If an item is a repair and not a replacement, it says so. Read it slowly. Ask about anything unclear, and hold it up against any other bid you get.

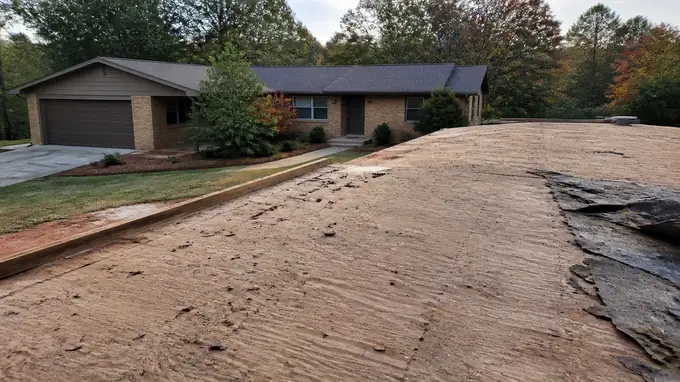
The stripped roof deck sits exposed after old shingles and felt are removed. at a buff-brick ranch home in Madison, WI, in early morning light.

Step 3: Removal of Old Materials

Tear-off goes down to bare wood. Shingles, old felt, rusted drip edge and tired flashing all come off, because new materials laid over old ones hide exactly the problems we came to find. Before the first shingle is pulled, tarps cover the landscaping, plywood leans against windows and siding, and the dumpster sits as close to the roof edge as the property allows. We open only as much roof as we can cover again before we leave.

A roofer fastens new OSB roof sheathing sheets with a staggered nailing pattern. at a red-brick ranch home in Madison, WI, under bright midday cloud.

Step 4: Deck Repair

With the roof bare, the deck tells the truth. We walk every sheet and cut out plywood or plank boards that are soft, delaminated or stained black from old leaks, replacing them with sheathing of the same thickness so the new roof lies flat. Loose boards get renailed. Gaps too wide for a shingle to bridge get filled. Where a rafter is cracked or sagging, we stop and show you before touching anything structural.

A roofer seals overlapping underlayment seams along the eave edge. at a red-brick ranch home in Madison, WI, in late afternoon light.

Step 5: Underlayment Installation

Underlayment is what keeps water out when a shingle fails. At the eaves, in every valley and around chimneys and skylights, we lay self-adhered ice and water membrane, which seals around each nail driven through it. We get about 36 inches of snow a year here, so that membrane earns its place where snow sits and melts. The rest of the deck gets synthetic underlayment, lapped correctly and fastened with cap nails so wind cannot lift it.

A roofer nails asphalt shingles into place course by course. at a grey split-level home in Madison, WI, in clear late-morning sun.

Step 6: Roofing Installation

Drip edge goes on first, then the starter course, then shingles set to the manufacturer's nailing pattern. Nails land in the nailing strip, flush and never overdriven, because an overdriven nail is where blow-offs begin. Step flashing is woven in piece by piece along each wall, and counterflashing is cut into the chimney brick. Every plumbing vent gets a new boot. On a standing seam metal roof the order holds; the panels and clips change.

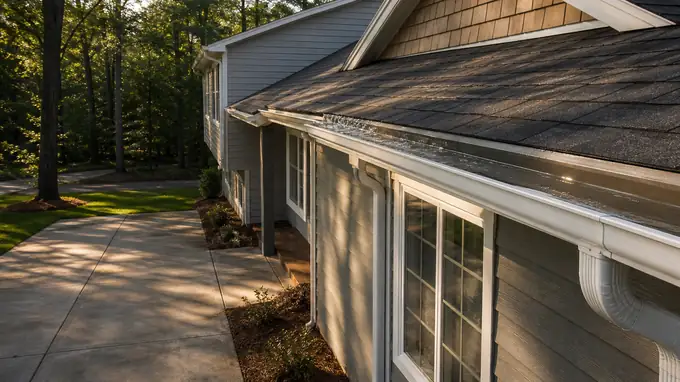
A roofer checks water flow through a newly reattached gutter after installation. at a grey split-level home in Madison, WI, in late afternoon light.

Step 7: Final Inspection

Before anyone calls the job finished, the crew lead walks the whole roof. Exposed nail heads should be sealed, flashing tight to the wall, shingle tabs laid down and the ridge vent fastened end to end. Anything that falls short gets fixed on the spot. Then we go back into the attic and look for daylight or nails that missed the deck. Where the job carries a permit, we handle the permit and the inspection that goes with it.

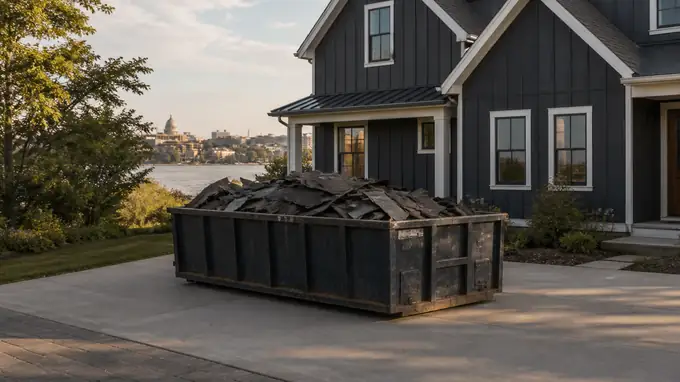
Workers load the last bundles of old shingle debris into a driveway dumpster. at a charcoal farmhouse-modern home in Madison, WI, in late afternoon light.

Step 8: Cleanup

Cleanup runs through the whole job, not just the last hour. Debris goes straight from the roof into the dumpster instead of onto the lawn. At the end we pull the tarps, clear the gutters and downspouts, and run a magnetic sweeper across the driveway, lawn and beds more than once, because roofing nails travel. The dumpster, leftover materials and old flashing leave with us. Last of all, we walk the property with you.

Get a Free Estimate

Request an Estimate

Tap to call +1 608-594-7071